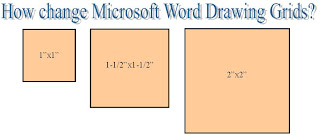
So let's talk about how to create boxes with correct size in Microsoft Word. My approach is very simple and easy to follow and in memorizing steps that i have provided below. Enjoy it!

Steps:
I used Microsoft Word 2003 but this step can be also done using higher version.
Please note: Microsoft Word application should be running to follow the steps provided.
1. Activate Drawing Toolbar, go to View --> Toolbars --> Drawing.
2. Drawing toolbar will be activated on the lower portion. See Illustration below:
3. To draw desired size of box, on the drawing toolbar click Draw --> Grid. See below:
4. Once Drawing Grid window opens, under Grid settings change horizontal spacing to 0.25" and Vertical spacing to 0.25" to create a 1/4" square. (1 divided 4 = 0.25 inch). Then, below check Display gridlines on screen.
5. Click OK and draw a box. Grid will be displayed on the screen 1" horizontally and 1" vertically.


No comments:
Post a Comment
Please leave a comment