Internet Protocol address (IP address) are sets of numbers assigned to a computer or devices participating in a network. This unique sets of numbers used by computer make them able to share files, communicate and connect to internet to share information, download and upload files. Sometimes, when connecting to internet makes it difficult or there's a problem in the connection by
Resetting it to its
Default values can help to resolve the problem. On this blog, we will talk how to reset IP address to its
Default value so that network will determine automatically what IP address it can used and available.
Below are just one of the solutions available we can set IP address to obtain automatically its address.
Let's Start:
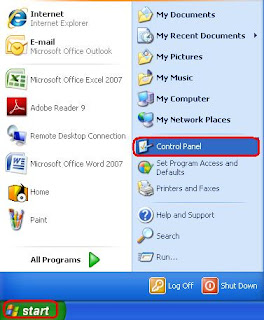
1) Click on
Start -->
Control Panel as shown below.
 2)
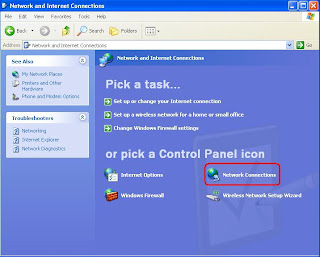
2) Once
Control Panel window opens, click on
Network and Internet Connections.
(Below view is in Category View)
3) Network and Internet Connections window will open, click on
Network Connections.
 4)
4) Once window for
Network Connections open, right-click on
Local Area Connection -->
Properties.
 5)
5) Under
General tab, select
Internet Protocol (TCP/IP) --> and click on
Properties.
6) Window for
Internet Protocol (TCP/IP) Properties will open, below it select
Obtain an IP address automatically and make sure that
Obtain DNS server address automatically will also be selected then clicked
Ok.
Notice that as shown below Use the following IP address and Use the following DNS server addresses are selected and a value is set, once obtain an IP address is set to automatic those box portion will be blank or no value.
 7)
7) After clicking
OK, box portion will be blanked as shown below.
 8)
8) Its Finished. Restart you computer and try to connect to internet.


